
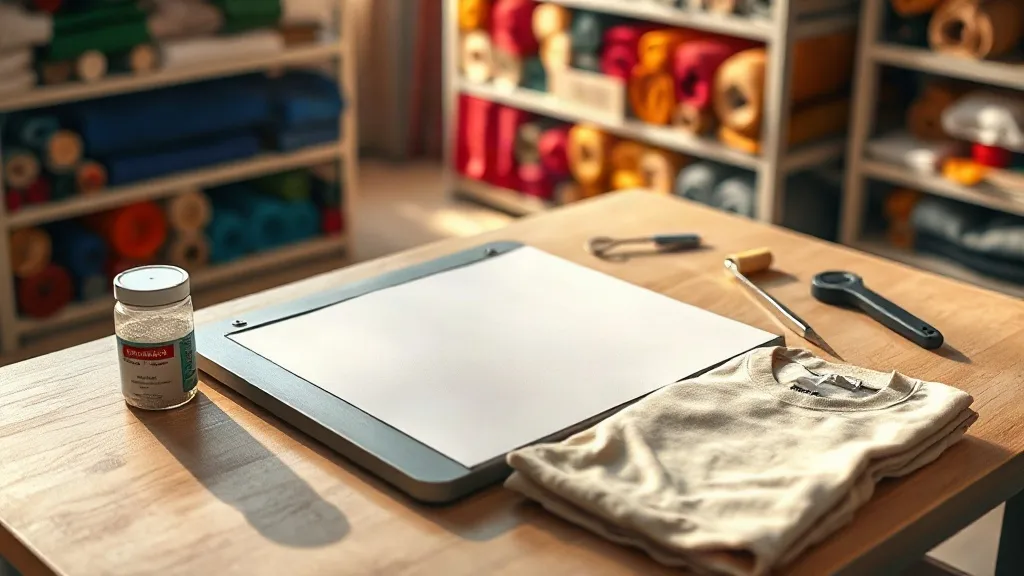
If you have spent any time in the custom apparel world lately, you have probably noticed that dtf transfers have become the go-to method for printing detailed, full-color designs on everything from cotton tees to nylon jackets. Unlike older techniques that force you to choose between vibrant colors and fabric flexibility, DTF (direct to film) printing offers a middle ground that works for small shops and home crafters alike. This guide walks you through what the process actually involves, how to set up your press, and the mistakes that cause most beginners to waste film and shirts.
What Are DTF Transfers, Exactly?
A DTF transfer is a printed design that has been output onto a special PET film, coated with a thermoplastic adhesive powder, and then cured. When you are ready to apply it, you place the film on your garment and use a heat press to bond the ink and adhesive to the fabric. Once the press is done, you peel away the film and the design stays behind.
The key difference from vinyl or screen printing is that DTF does not require you to cut anything or prepare screens. You can print a photograph, a gradient, or a design with hundreds of colors in one pass, and the same transfer works on cotton, polyester, blends, and even some synthetic materials that traditionally resist other printing methods.
That flexibility is why dtf transfers have spread so quickly. A shop can keep a single printer running and produce transfers for dozens of different garment types without changing setups.
The DTF Process Step by Step
1. Printing the Design
A DTF printer uses pigment inks, usually CMYK plus white. The white ink layer is critical because it acts as an opaque backing, allowing bright colors to show up on dark shirts. The printer lays down the color layer first, then the white layer on top, all on the coated side of the film.
2. Applying the Adhesive Powder
While the ink is still wet, the film is dusted with a hot-melt adhesive powder. The powder sticks only to the printed areas. You then shake off the excess and cure the film, either in a dedicated powder shaker unit or with a heat press or oven. Proper curing is what makes the transfer durable after washing.
3. Pressing the Transfer
Once cured, the transfer is ready to apply. You place it on the garment with the printed side down, press it at the temperature and time recommended for your film, let it cool slightly, and peel. The result is a soft, stretchy print that sits on top of the fabric rather than soaking into it.
Choosing the Right Film and Powder
Not all DTF film is created equal, and the differences show up in the final product. Here is what to look for:
- Film thickness: Thinner films tend to release more cleanly and leave less texture on the garment.
- Coating quality: A consistent coating prevents ink from bleeding and helps the powder adhere evenly.
- Powder mesh size: Finer powder gives a softer hand feel, while coarser powder can be more forgiving for beginners.
- Compatibility: Check that the film is rated for your printer's ink type, since pigment and dye inks behave differently.
If you are buying pre-printed transfers rather than producing your own, ask the supplier about the film and powder they use. A good supplier will know their cure temperatures and can tell you which fabrics the transfer is tested on.
Heat Press Settings That Actually Work
Most DTF failures trace back to press settings. The exact numbers depend on your film and powder, but these ranges are a reliable starting point:
- Temperature: 300 to 320 degrees Fahrenheit (150 to 160 degrees Celsius) for most films.
- Pressure: Medium to firm, enough that you can see the fabric texture through the transfer.
- Time: 10 to 15 seconds for the press, plus a few seconds for a second press after peeling if needed.
Always run a test press on a scrap garment before committing to a full order. Small differences in your press's actual platen temperature can throw off results, and a cheap infrared thermometer will tell you more than the dial on the machine.
Common Mistakes and How to Avoid Them
Beginners tend to repeat the same handful of errors. Watching for these will save you time and materials:
- Pressing too hot: Excessive heat can scorch the film or cause the adhesive to bleed around the design edges.
- Peeling too early or too late: Follow the film's instructions. Some require a hot peel, others a cold peel, and getting it wrong can tear the design.
- Skipping the pre-press: Moisture in the fabric turns to steam and prevents proper adhesion. Always pre-press the garment for a few seconds.
- Using the wrong fabric: DTF works on most materials, but very stretchy or heavily coated fabrics may need a lower temperature and a longer press.
- Storing transfers improperly: Keep unused transfers flat, dry, and away from direct sunlight to prevent the powder from clumping.
DTF vs. Other Printing Methods
Screen printing still wins on cost per unit for large runs of simple designs. Vinyl is fine for single-color text and numbers. But when you need photographic detail, gradients, or a mix of garment types in small quantities, DTF is hard to beat. It also avoids the setup time of screens and the weeding work of vinyl, which matters if you are producing one-off items or short runs.
The trade-off is that DTF prints sit on top of the fabric, so they can feel slightly thicker than a well-executed screen print. On lightweight shirts, that texture is noticeable. On hoodies and heavier garments, most customers will not mind.
Finding Reliable DTF Transfers
If you do not want to invest in a printer and powder setup, buying pre-printed transfers is a practical route. Search for dtf transfers near me and you will find local print shops and online suppliers that ship ready-to-press sheets. When comparing options, check turnaround time, minimum order quantities, and whether the supplier offers gang sheets so you can fit multiple designs on one page.
For anyone building a small apparel business, the dtf workflow is worth learning. It scales from a single shirt to a few dozen without major changes to your equipment, and the learning curve is shorter than screen printing.
Frequently Asked Questions
How long do DTF transfers last after washing?
With proper curing and a correct press, a DTF transfer typically survives 50 or more washes. Wash the garment inside out in cold water and avoid high heat in the dryer to extend the life of the print.
Can I use DTF transfers on 100 percent polyester?
Yes. DTF works well on polyester and polyester blends. In fact, it is often a better choice than vinyl on synthetics because it stretches with the fabric instead of cracking.
Do I need a special printer to make my own DTF transfers?
You need a printer that uses DTF-compatible pigment inks and can handle the film, plus a powder application method and a heat press. Many beginners start by buying pre-printed transfers and move to in-house printing once volume justifies the cost.
Why is my DTF transfer peeling after washing?
Peeling usually points to incomplete curing, insufficient pressure during the press, or pressing on a garment that was not pre-pressed to remove moisture. Re-check your powder cure and press settings before assuming the film is faulty.
What temperature should I press DTF transfers at?
Most films press between 300 and 320 degrees Fahrenheit for 10 to 15 seconds at medium to firm pressure. Always confirm with your supplier, since formulations vary.