
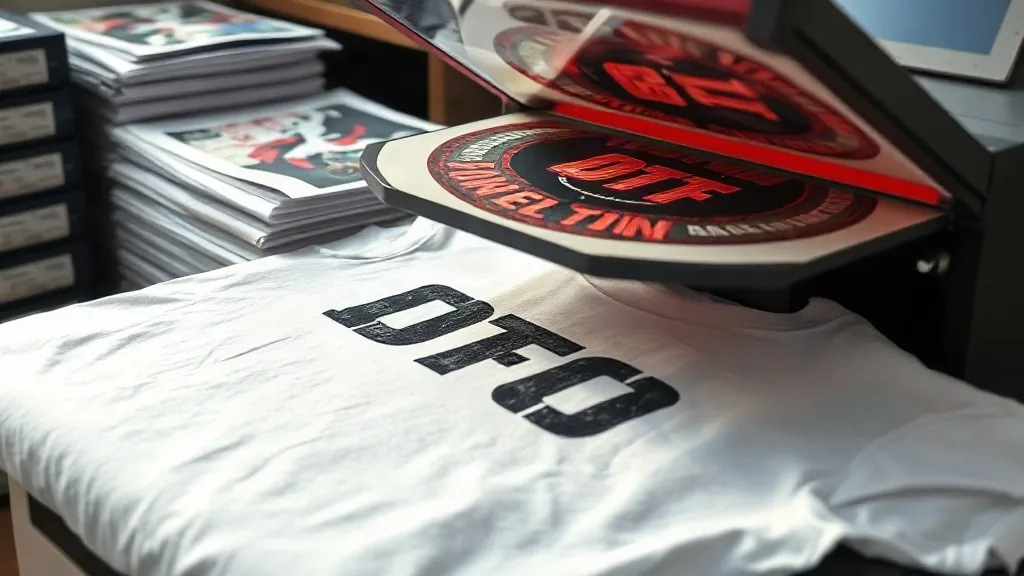
Imagine pressing a button and watching a full-color design appear on a cotton t-shirt in under a minute, no messy weeding or color limitations. That's the magic of dtf printing, a digital transfer method that's rapidly becoming the go-to for custom apparel creators. Unlike traditional screen printing or vinyl, DTF (Direct to Film) opens up a world of possibilities for small businesses, hobbyists, and anyone who wants professional-looking results without a steep learning curve. In this guide, we'll walk through the entire DTF process, from preparing your artwork to applying the transfer, and share practical tips to help you avoid common pitfalls.
What Exactly Are DTF Transfers?
At its core, dtf transfers are printed images on a special film that can be heat-pressed onto fabric. The process uses a specialized printer with pigment inks (usually CMYK plus white) to print your design onto a PET film. A powder adhesive is then applied to the wet ink, and the film is cured. When you're ready to apply, you simply place the film on your garment, heat press it, and peel away the film. The result is a soft, stretchable print that bonds permanently to the fabric.
What sets DTF apart is its versatility. You can print on cotton, polyester, blends, and even treated nylon. No need for pre-treatment or special coatings. Plus, because the white ink layer is printed underneath the colors, your designs pop on both light and dark garments. This makes DTF a fantastic choice for everything from one-off custom tees to small-batch production runs.
Why Choose DTF Over Other Printing Methods?
If you've experimented with heat transfer vinyl (HTV) or DTG (Direct to Garment), you know each has its quirks. HTV requires weeding and layering, which is time-consuming for complex designs. DTG works best on 100% cotton and often needs pre-treatment. DTF sidesteps many of these issues.
- No weeding or masking: The printer does all the work. You just cut the film (or use a cutter) and press.
- Works on almost any fabric: Cotton, polyester, blends, leather, and more.
- Vibrant colors and fine details: DTF can reproduce gradients, photographs, and tiny text with impressive accuracy.
- Durable and stretchable: When applied correctly, DTF prints withstand repeated washing and stretching without cracking.
- Cost-effective for short runs: No setup fees or minimums, making it ideal for small businesses and personalized orders.
Of course, DTF isn't perfect for every scenario. For very large orders, screen printing might be more economical. But for flexibility and ease, DTF is hard to beat.
The DTF Printing Process Step by Step
Understanding the workflow helps you troubleshoot and improve your results. Here's what happens from digital file to finished garment.
1. Design Preparation
Start with a high-resolution image (300 DPI is ideal). If your design has transparency, make sure the background is removed. DTF printers don't print white as a background color; instead, they print a white ink layer behind the colors. So your design should have transparent areas where you want the fabric to show through. Save your file in a format your RIP software supports, such as PNG or TIFF.
2. Printing
The DTF printer prints your design onto a sheet of PET film using pigment inks. The printer lays down a white ink base first, then the colors on top. This is why DTF prints are opaque and vibrant. After printing, the film is dusted with a hot-melt adhesive powder. The excess powder is shaken off, and the film goes through a curing oven or under a heat press to melt the powder into the ink.
3. Curing and Storage
Proper curing is critical. If the powder isn't fully melted, the transfer won't adhere well. Most manufacturers recommend curing at around 160°C (320°F) for 2-3 minutes in an oven, or a short press with a heat press. Once cured, the transfers can be stored in a cool, dry place for weeks or even months. Just keep them away from moisture and direct sunlight.
4. Application
When you're ready to apply, preheat your heat press to 160-170°C (320-340°F). Place the garment on the press, position the transfer with the printed side down, and press for 10-15 seconds with medium pressure. Then, while the transfer is still hot, peel away the film in a smooth, steady motion. If you wait too long, the adhesive may set and cause the print to lift. For best results, use a heat press rather than an iron, as consistent pressure and temperature are key.
Common Mistakes and How to Avoid Them
Even with a straightforward process, beginners often run into issues. Here are a few pitfalls and how to steer clear.
- Insufficient pressure: If the press doesn't apply enough pressure, the transfer won't bond fully. Adjust your press and test.
- Wrong temperature: Too hot and the film may wrinkle or the ink may scorch; too cool and the adhesive won't activate. Always check with a temperature gun.
- Peeling too late: Hot peel is usually best for DTF. If you let it cool completely, the adhesive may stick to the film instead of the fabric.
- Poor powder application: Shake off excess powder thoroughly. Leftover powder can create a gritty texture.
- Storing transfers improperly: Humidity can ruin uncured transfers. Keep them sealed until use.
With a bit of practice, you'll develop a feel for the right settings and avoid these issues altogether.
Choosing the Right DTF Supplies
Not all DTF films and powders are created equal. The quality of your supplies directly impacts the final result. Look for films that are coated for high ink release and that feel thin and flexible. Powders should be fine and uniform; coarse powders can leave a rough texture. Inks should be vibrant and compatible with your printer. It's worth investing in reputable brands, as cheap supplies can lead to clogs, poor adhesion, and frustrated customers.
Also consider your printer. Dedicated DTF printers are available, but some creators convert Epson or other printers with DTF ink systems. If you're just starting, you might outsource printing to a service like dtf transfers and focus on application. That way, you can test the waters without a big investment.
Applications and Creative Ideas
DTF transfers aren't just for t-shirts. You can personalize tote bags, hoodies, caps, denim jackets, and even shoes. Because the print is stretchable, it works well on performance wear and athletic gear. Small businesses use DTF for branded uniforms, promotional items, and event merchandise. Crafters love it for making gifts and limited-edition designs. The only limit is your imagination.
Frequently Asked Questions
How long do DTF transfers last?
When applied correctly and cared for properly, DTF prints can last as long as the garment itself. Wash inside out in cold water and avoid ironing directly on the print.
Can I use DTF on 100% polyester?
Yes, DTF adheres well to polyester and polyester blends. However, polyester requires a lower pressing temperature (around 140-150°C) to avoid scorching or dye migration.
Do I need a special printer for DTF?
You can buy a dedicated DTF printer or convert a standard inkjet printer with DTF ink and a RIP software. Many beginners start by ordering pre-printed transfers from a service.
What is the difference between DTF and DTG?
DTG prints directly onto the garment, while DTF prints onto a film that is then transferred. DTF works on more fabric types and doesn't require pre-treatment, but DTG can be more cost-effective for large runs on cotton.
How do I store unused DTF transfers?
Keep them in a sealed bag or container in a cool, dry place, away from direct sunlight and moisture. Properly stored transfers can last several months.
Whether you're a seasoned pro or just starting out, DTF transfers offer a flexible, high-quality way to bring your designs to life. With the right techniques and supplies, you'll be creating stunning apparel in no time.