
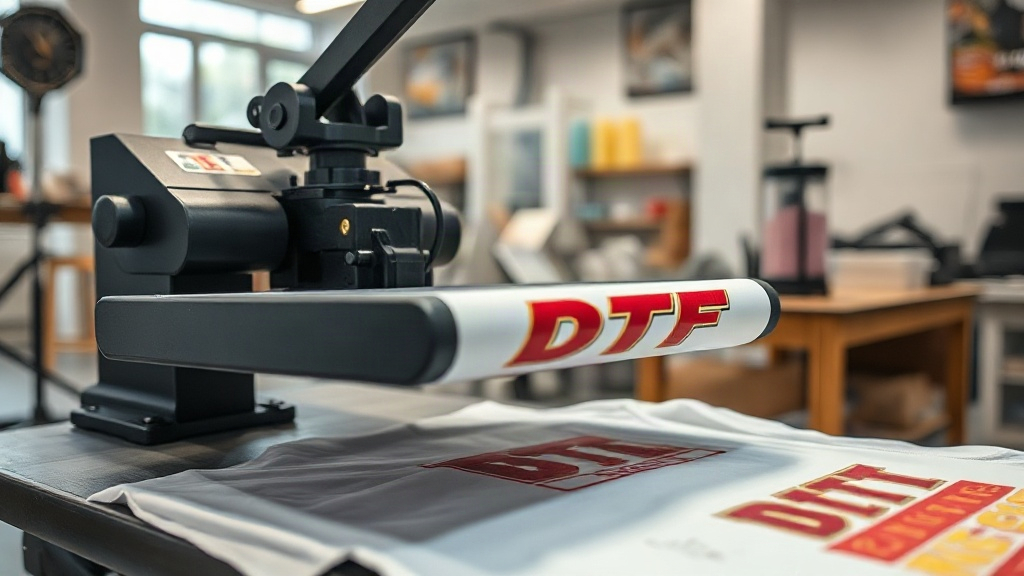
If you've been exploring custom apparel printing, you've likely encountered DTF Transfers. This technology has rapidly gained popularity for its versatility and vibrant results. Unlike traditional methods that require specific fabrics or extensive setup, DTF transfers offer a straightforward way to add colorful, detailed designs to a wide range of materials. In this guide, we'll walk you through everything you need to know to get started, from the science behind the process to practical tips for flawless application.
What Are DTF Transfers?
DTF stands for Direct to Film. It's a printing method where your design is printed onto a special film, coated with a adhesive powder, and then heat-pressed onto the fabric. The magic lies in the film: it holds the ink and adhesive, allowing the design to bond permanently with the material when heat and pressure are applied. This process works on cotton, polyester, blends, and even some unconventional fabrics like canvas and denim. The result is a soft, stretchable print that withstands washing and wear.
Why Choose DTF Transfers?
There are several compelling reasons to consider DTF for your next project. First, it eliminates the need for color separation or screen setup, making it cost-effective for small batches and complex designs. Second, the color vibrancy is exceptional: DTF printers can produce photo-realistic images with fine details and gradients. Third, it's incredibly versatile. You're not limited to 100% cotton or polyester; DTF adheres to almost any fabric, including those with special coatings. Finally, the prints are durable. When applied correctly, they survive dozens of washes without cracking or fading.
How DTF Transfers Work: Step by Step
Understanding the process helps you troubleshoot and achieve professional results. Here's a breakdown of the key stages:
- Design Preparation: Your artwork is prepared in a graphics program and printed onto a special film using a DTF printer with pigment inks.
- Powder Application: While the ink is still wet, a thermoplastic powder is sprinkled over the film. The powder sticks to the ink.
- Curing: The film passes through a heat source (like a heat press or oven) to melt the powder, creating a adhesive layer.
- Transfer: The film is placed on the fabric and heat-pressed. The adhesive bonds with the fibers, and the film is peeled away (hot or cold peel, depending on the film type).
Each step requires attention to detail, but with practice, it becomes second nature.
Materials You'll Need
Before you start, gather these essentials:
- DTF printer and pigment inks (or outsource printing to a service)
- DTF film (usually PET film)
- Thermoplastic powder (TPU-based)
- Heat press or iron
- Heat-resistant tape
- Parchment paper or Teflon sheet
- Fabric of your choice
Step-by-Step Application Guide
1. Prepare Your Workspace
Set up your heat press on a stable surface. Preheat it to the temperature recommended for your film and fabric. Typical settings range from 300°F to 350°F (150°C to 175°C). Ensure good ventilation.
2. Preheat the Fabric
Pre-press the garment for a few seconds to remove moisture and wrinkles. This helps the transfer adhere evenly.
3. Position the Transfer
Place the DTF transfer film on the fabric with the printed side facing up. If your design is intricate, use heat-resistant tape to hold it in place.
4. Apply Heat and Pressure
Cover the transfer with a Teflon sheet or parchment paper. Press down firmly with medium to heavy pressure for 15-20 seconds. The exact time depends on your film and fabric, so test a small area first.
5. Peel the Film
Wait for the recommended peel time. Some films require a hot peel (immediately after pressing), while others need a cold peel (wait until it cools). Peel slowly at a low angle to avoid distorting the print.
6. Post-Press for Durability
For extra durability, press the transferred design again for a few seconds without the film. This ensures the adhesive fully cures.
Common Mistakes to Avoid
- Insufficient pressure: Leads to poor adhesion and premature peeling.
- Wrong temperature: Too low and the powder won't melt; too high and the film may scorch.
- Not preheating: Moisture can cause bubbles and weak bonds.
- Peeling too fast: Can tear the design or leave residue.
- Ignoring fabric type: Some fabrics require lower temperatures or special handling.
DTF vs. Other Printing Methods
How does DTF stack up against screen printing, DTG, and vinyl? Screen printing is cost-effective for large orders but limited in color complexity. DTG works best on 100% cotton and can be slow. Vinyl is great for simple designs but not for detailed images. DTF combines the best of all: it handles intricate designs, works on many fabrics, and is cost-effective for small to medium runs. It's no wonder it's becoming a go-to for custom apparel creators.
Tips for Long-Lasting Prints
- Wash garments inside out in cold water.
- Avoid bleach and fabric softeners.
- Tumble dry low or hang dry.
- Iron on the reverse side, never directly on the print.
Frequently Asked Questions
Can I use DTF transfers on dark fabrics?
Absolutely. DTF transfers include a white ink layer that makes colors pop on dark backgrounds. Just ensure your design has the white base if needed.
How long do DTF transfers last?
With proper application and care, DTF prints can last 50+ washes. The key is following the correct temperature, pressure, and peel guidelines.
Do I need a special printer for DTF?
Yes, DTF requires a printer that uses pigment inks and can handle DTF film. Alternatively, you can order pre-printed transfers from a service.
What fabrics work best with DTF?
DTF works on cotton, polyester, blends, and even leather. It's one of the most versatile methods available.
Is DTF eco-friendly?
DTF uses water-based inks and no harmful solvents, making it more environmentally friendly than some other methods. However, the film and powder do create waste, so recycling is encouraged where possible.
With this guide, you're ready to dive into the world of DTF Transfers. Whether you're a hobbyist or a business owner, mastering this technique can open up a world of creative possibilities. Remember, practice makes perfect, so don't be afraid to experiment with different fabrics and designs. Happy printing!